Making pickles doesn’t have to be a Big Production.
Sure, if you’re sterilizing jars, assembling a vinegar brine, bringing it to a boil, packing jars, and canning them, you’ll need to block out at least an hour and bust out some pots and pans. But if you’re making fermented pickles—say, wild-fermented* dilly beans—once you top and tail the beans and stuff them into a jar, your work is pretty much done. Salt, the calendar, and our good friend lactobacillus do the rest.
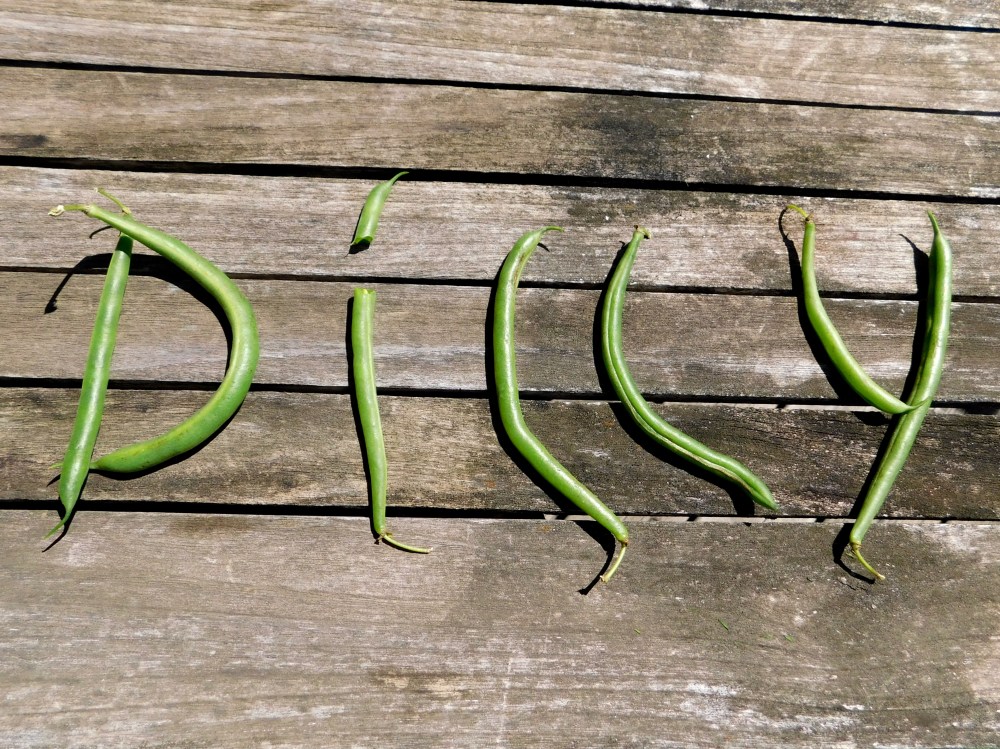
Wild-Fermented Dilly Beans
I’ve sized this to yield about a quart of finished pickles. You can scale it up or down, but just try to keep the salt solution at the same ratio—2 tablespoons per quart.
- 1 pound green beans, the freshest you can find
- 2 tbsp sea salt
- 1 quart water
- 1 tbsp mustard seeds (I used half brown, half yellow)
- 1-1/2 tsp peppercorns (I used equal shares of pink/green/black)
- 4-5 cloves of garlic, peeled and smashed
- OR 3 garlic scapes, cut into bean-length segments
- 1 or 2 dried hot peppers (optional, and red pepper flakes are fine, too)
- handful of fresh dill fronds, including a seed/flower head if you can find one

Prep your fermentation vessel. I have a small crock for little batches like this, but a wide-mouth Mason jar or two will also do the trick. No need to sterilize; just give everything (including your weights) a good wash in hot water.
Dissolve the salt fully in the water. I find the easiest way to do this is to shake it for 30 seconds or so in a quart jar with a tight-fitting lid.
Pick through the beans and discard any with critter-nibble marks or obvious evidence of spoilage. Give the remaining a good rinse. Trim the ends with a sharp knife.

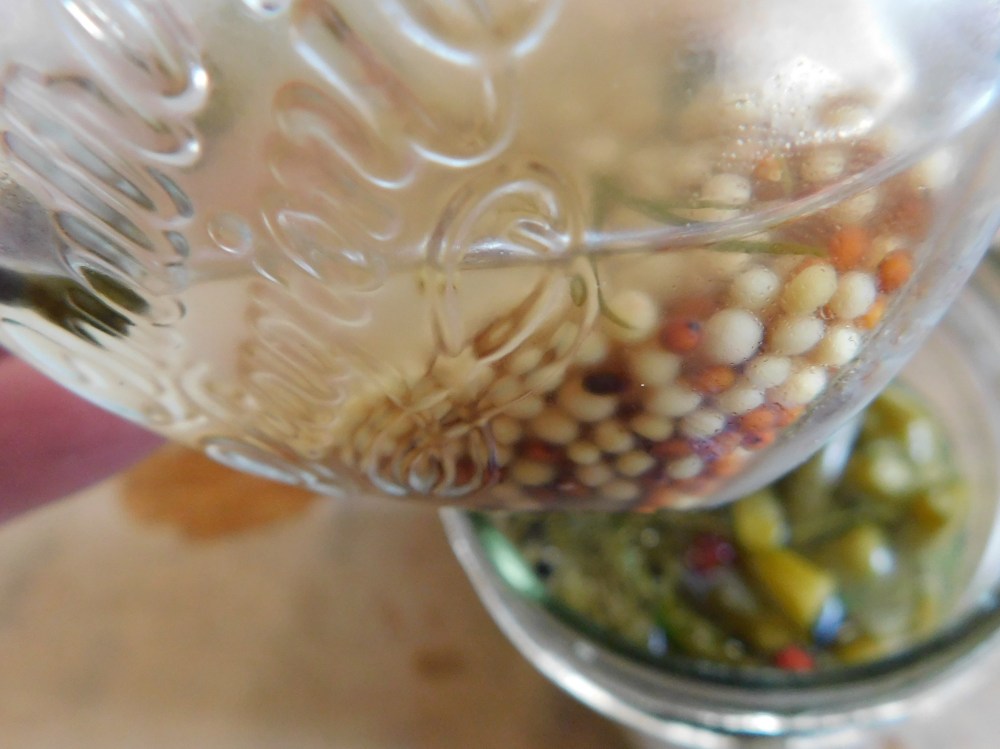
Place the spices, garlic, and chilis (if using) in the bottom of your crock or jar(s). Pack in the beans, alternating with the dill. In a crock, you can just do horizontal layers. But in a jar, you’ll make better use of the space (and get a prettier presentation) if you stand the beans up as best you can (tip: tip the jar—or even lay it horizonally—to wedge in more vedge).

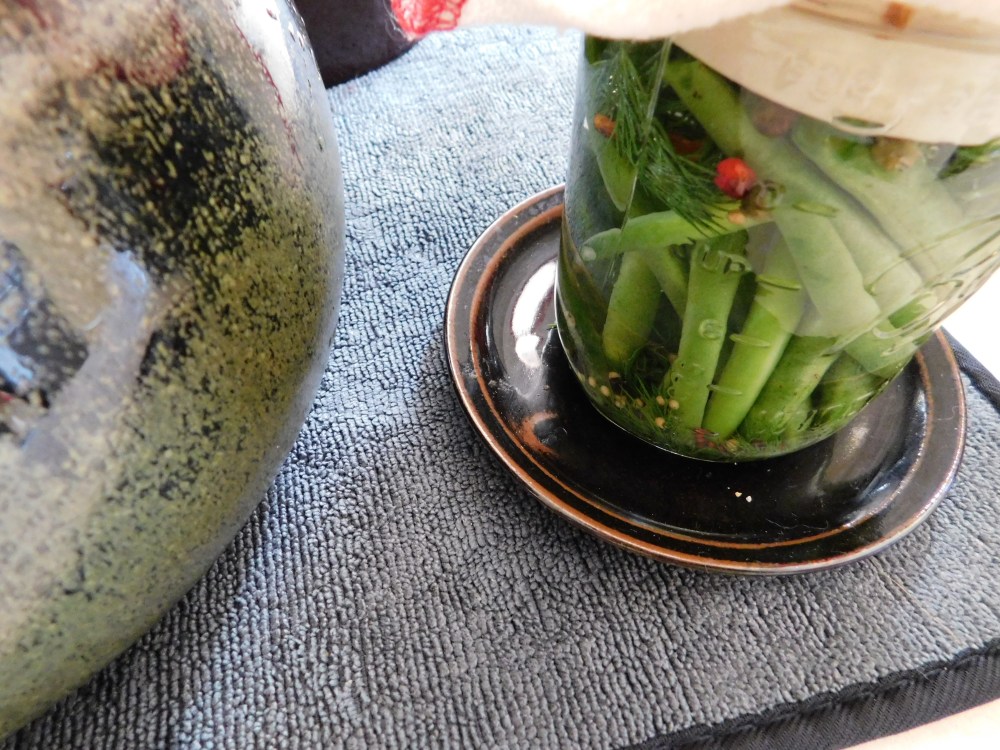
Add the brine. Place a weight on top of the vegetables. My crock came with a set of fitted weights, but you can also use a smaller ramekin or jar filled with pie weights or clean stones. For more on this, see Phickle’s guidelines.
Once the weights are in place, check to see that all the veggies and herbs are submerged below the liquid. That keeps things anaerobic, preventing mold and allowing the friendly lactobacillus to prevail over any harmful bacteria. So if you need to make a bit more brine to top off the jar, now’s the time to do it.
If you’re using a water-sealing crock, fill the “moat” around the crock’s lip halfway with water, then gently seat the lid into place. And if you’re using a jar or an open crock, affix a piece of cheesecloth or thin (clean) dishtowel over the top with a rubber band or some string (just to keep out pests like fruit flies and inquisitive cats). Set the whole thing on a plate (so that any burbled-over brine doesn’t mess up your counter) somewhere out of the way—and out of direct sunlight.
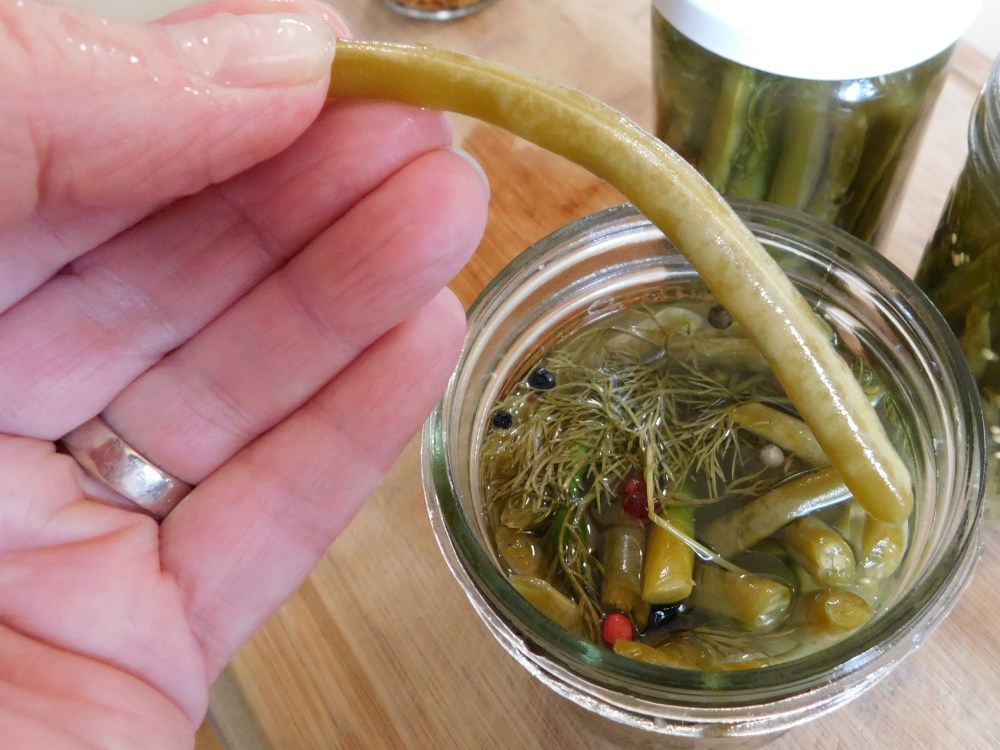
After three or four days, start sampling. Pull out one of the beans and taste it. It should have a pleasant, sour-and-salty tang, but should still be crisp. I let mine go three more days after my first taste.
If you fermented in a jar, you’re set. Just put a lid on it and keep your new pickles in the refrigerator. If you went the crock route, remove the beans from the crock and put them into a clean jar. Ladle in enough brine to cover, then put them in the fridge. They’ll keep for months, if you can resisting plucking one out every time you open the door.
And for gosh sakes don’t toss out the goodies at the bottom of the jar/crock! Those pickled mustard seeds are brilliant added to vinaigrettes, pan sauces, and, especially, mayo-based salads.
*Wild fermentation gets its spontaneous kickstart from microbes naturally found on the foods or in the air (think sauerkraut, sourdough starter, Belgian farmhouse ales, and many wines). Lacto-fermentation is a specific type of wild fermentation wherein lactobacillus, naturally present on the green beans, feeds on the sugars in the beans, creating lactic acid (and carbon dioxide) as by products. It’s the lactic acid that gives pickles their tang, preserves and protects them from spoiling, and nurtures your gut’s microbiome. If you want to geek out further, see Sandor Katz’s wild fermentation or Amanda Feifer’s phickle.
