Time to rotate the berries.
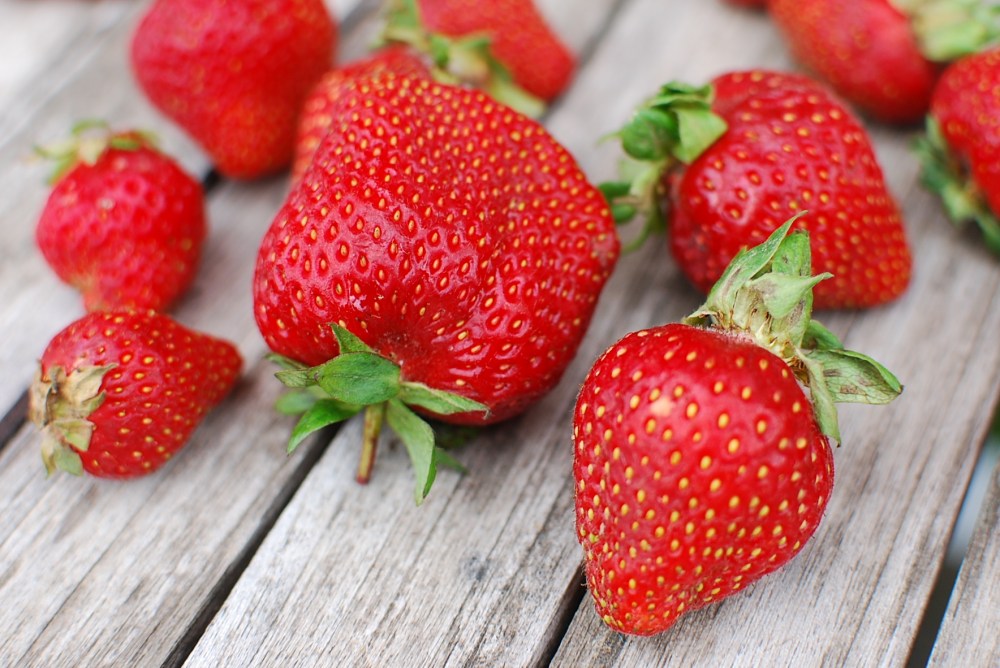
With a pint in yesterday’s LFFC sharebox, plus about a pint pulled from my own garden, plus a scruffy partial-quart leftover from the farmers market Sunday, I suddenly had a critical mass of berries, some of which were in that critical do-something-with-me-today stage.

I hung onto most of my home-growns to eat out of hand—and trimmed and sliced up the rest for a micro-batch of maple-sweetened strawberry jam.
Maple sugar’s become my go-to for jarring up my annual crop of backyard blackberries, and it shines with strawberries, too, lending a nice, warm, bass note to support the red berries’ treble.

Strawberry-Maple Jam
For years, I’ve followed Russ Parsons’ two-stage preserving method from How to Pick a Peach. I also follow his advice and measure my fruit and sugar by weight (after slicing) rather than volume. For me, that’s usually 3:2 fruit:sugar, but when I use maple, which has deeper flavors than regular, granulated sugar, I generally go 2:1.
If you don’t have a scale, you can approximate: 1 dry quart of medium-sized strawberries breaks down, after trimming and slicing, into about 3 cups of fruit that weigh about 12 ounces; 6 ounces of maple sugar measures out to roughly 3/4 cup. Because you do the second stage of cooking in batches, this’ll scale up or down as you wish.
Mileage varies every time, but the specs below should yield about 10 ounces of finished product.
- about 1 quart ripe strawberries
- about 3/4 cup maple sugar
- 1/2 vanilla bean
- 1 tbsp lemon juice
Stage 1: Maceration
Rinse the berries and trim away the stems and any bruised bits (soft is fine; brown is not). Slice or chunk into small pieces.
Weigh the berries, and then weigh out half as much maple sugar.
Stir the berries and sugar together in a large pot. Over medium heat, bring the mixture to a boil. Let it go for 5 minutes or so, until the berries have released a good deal of juice. Remove from heat.
Split the vanilla bean lengthwise, scrape out the seeds, then add both the seeds and pod to the pot. Give everything a good stir, cover the pot loosely (I just leave the lid slightly ajar), and come back in 4 to 24 hours ready to jam.

Stage 2: Cooking and Jarring
Prep your jar(s) and lid(s) by sterilizing them in boiling water for 5 minutes. And stick a small plate in the freezer—you might need it later.
If you have a large, shallow, non-stick skillet, now’s the time to pull it out. That bigger surface area will get more fruit to the gel stage faster (usually gaining a good set even without added pectin). And of course the non-stick factor is HUGE when you’re dealing with high temps and sugared fruit goo.
Fish out the vanilla bean, add the lemon juice, stir the pot well, and, if you like, take a potato masher to any of the larger chunks of strawberry.
Scoop out 3-4 ladles of the fruit mixture into the skillet.
Over medium-high heat, bring the mixture to a strong simmer and cook (stirring frequently) until it thickens. Depending on how juicy the fruit is, this’ll take about 10 minutes at a full-on, bubbling simmer.
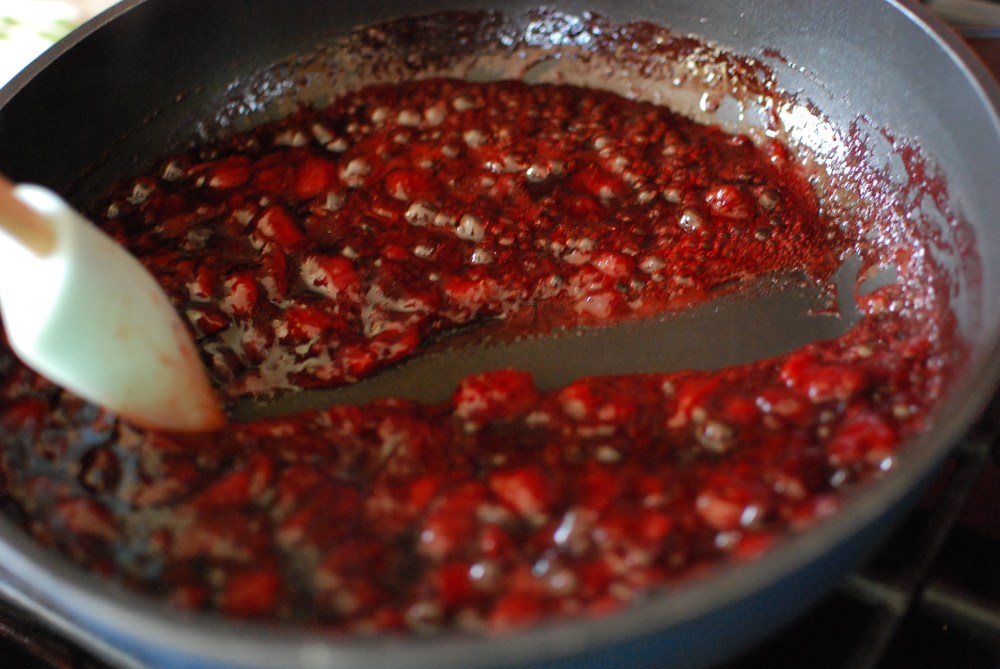
With some experience, you be able to judge when it’s done by how it looks and feels (and even sounds), but if you need corroboration, use the plate test. Take your little plate out of the freezer and drip a little bit of the hot fruit onto it. Wait 10 seconds, and tip the plate. If the fruit is sludgy and doesn’t run right off the plate when you tip it, your preserves are ready to jar.
Ladle the hot fruit into your hot jars, leaving 1/4-inch headspace. Repeat the whole process with the remaining fruit mixture.
Fasten the lids and either:
- Let cool completely, then refrigerate and use within a month or so, or
- Make them shelf-stable by processing in a boiling-water bath for 15 minutes. If you’re new to canning, check out the Ball Company’s online guides or Marisa McLellan’s wonderful blog (and book), Food in Jars.


Love it!! It’s so beautiful!!
Thanks, Carolyn. It’s delicious, too.