Perfectly Paschal purple, this ferment came together Easter morning, after I’d finished up a mixed-veg slaw to contribute to that evening’s holiday table.

The slaw used up all the carrots, but the remaining cabbage and celeriac volunteered for laboratory duty. Time for more small-batch fermentation experimentation!
I suspected my sunnier, Spring-warmed kitchen might kick the fermentation process into a higher gear than the crock-filling batches I churn out late Fall into Winter, so I started tasting after just eight days.
Five forkfuls later, on Day Thirteen, I declared victory.
The texture after two weeks was dreamy—the celeriac had become downright creamy, while the cabbage still had nice snap. Normally, I like my sauerkraut really sauer, but letting the good bugs work any longer, I worried, might make the more delicate celeriac all but disappear. So into the fridge it went.
Red Cabbage and Celery Root ‘kraut
- 1/2 head red cabbage, outer leaves and core removed
- 1 good-sized cabbage leaf, intact and washed
- 1/2 celery root, trimmed
- salt
- spices (optional—I used a pinch each of caraway seed, dill seed, and juniper berry)
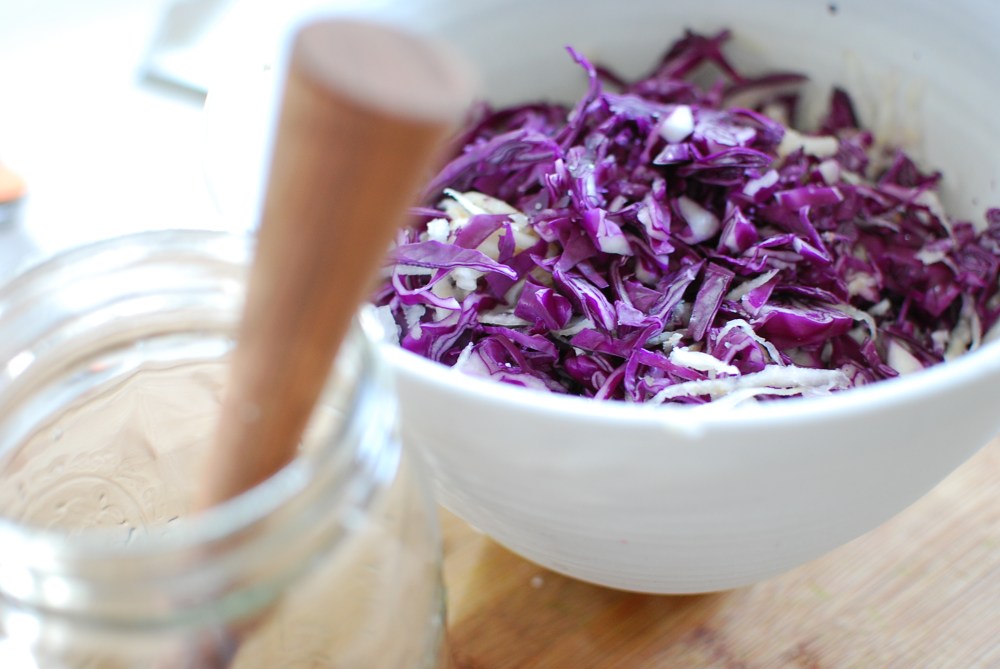
Shred, grate, or slice fine the cabbage and celeriac. Sprinkle lightly with salt. Toss to combine, cover loosely, and let sit for 15-30 minutes, until the vegetables start to release some of their water.
Load a few handfuls of the shreds into a clean quart jar. Add a pinch more salt and a pinch of each spice you’re using. Use your very clean hands or a muddler (or a cabbage tamper) to pack the shreds tightly. You’re going for compression, sure, but you’re also looking to free up more liquid, so don’t be shy. Beat it up.
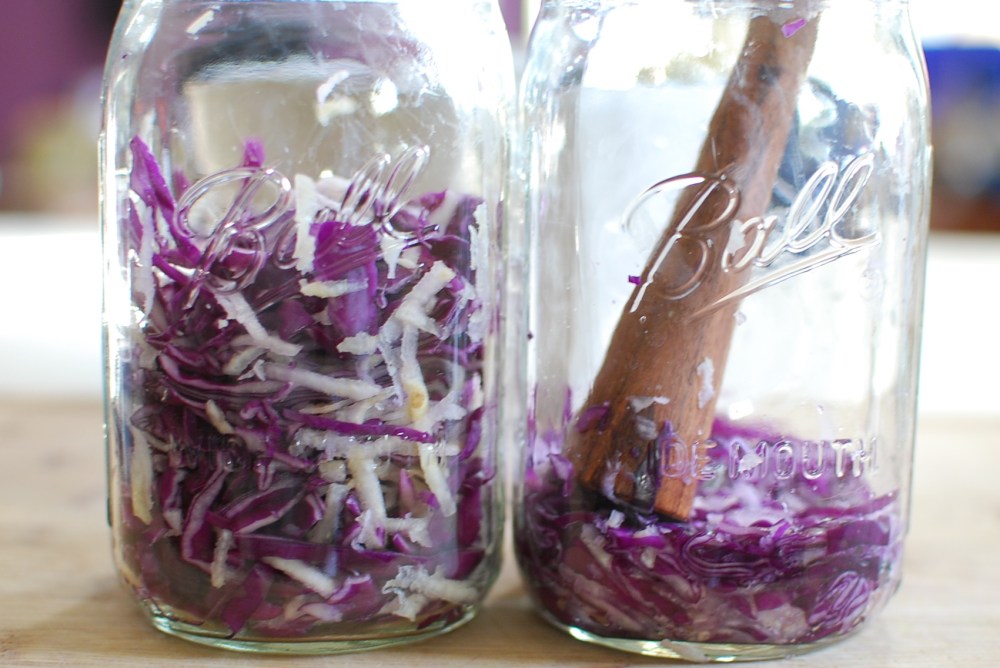
Keep adding more shreds (and more pinches), tamping between handfuls, until everything’s in the jar. Cover again with a towel, and let it rest for another 15 minutes.

Scrape any stray shreds from the side of the jar down into the brine. Place the large cabbage leaf—folded or trimmed, if necessary—in the jar, atop of the other veggies. This’ll be your “tarp” that keeps rogue little bits from floating up to the top during the ferment. Those that sneak out above the brine line will be exposed to oxygen and may introduce icky mold into your jar, so you want to do what you can to keep everything submerged.
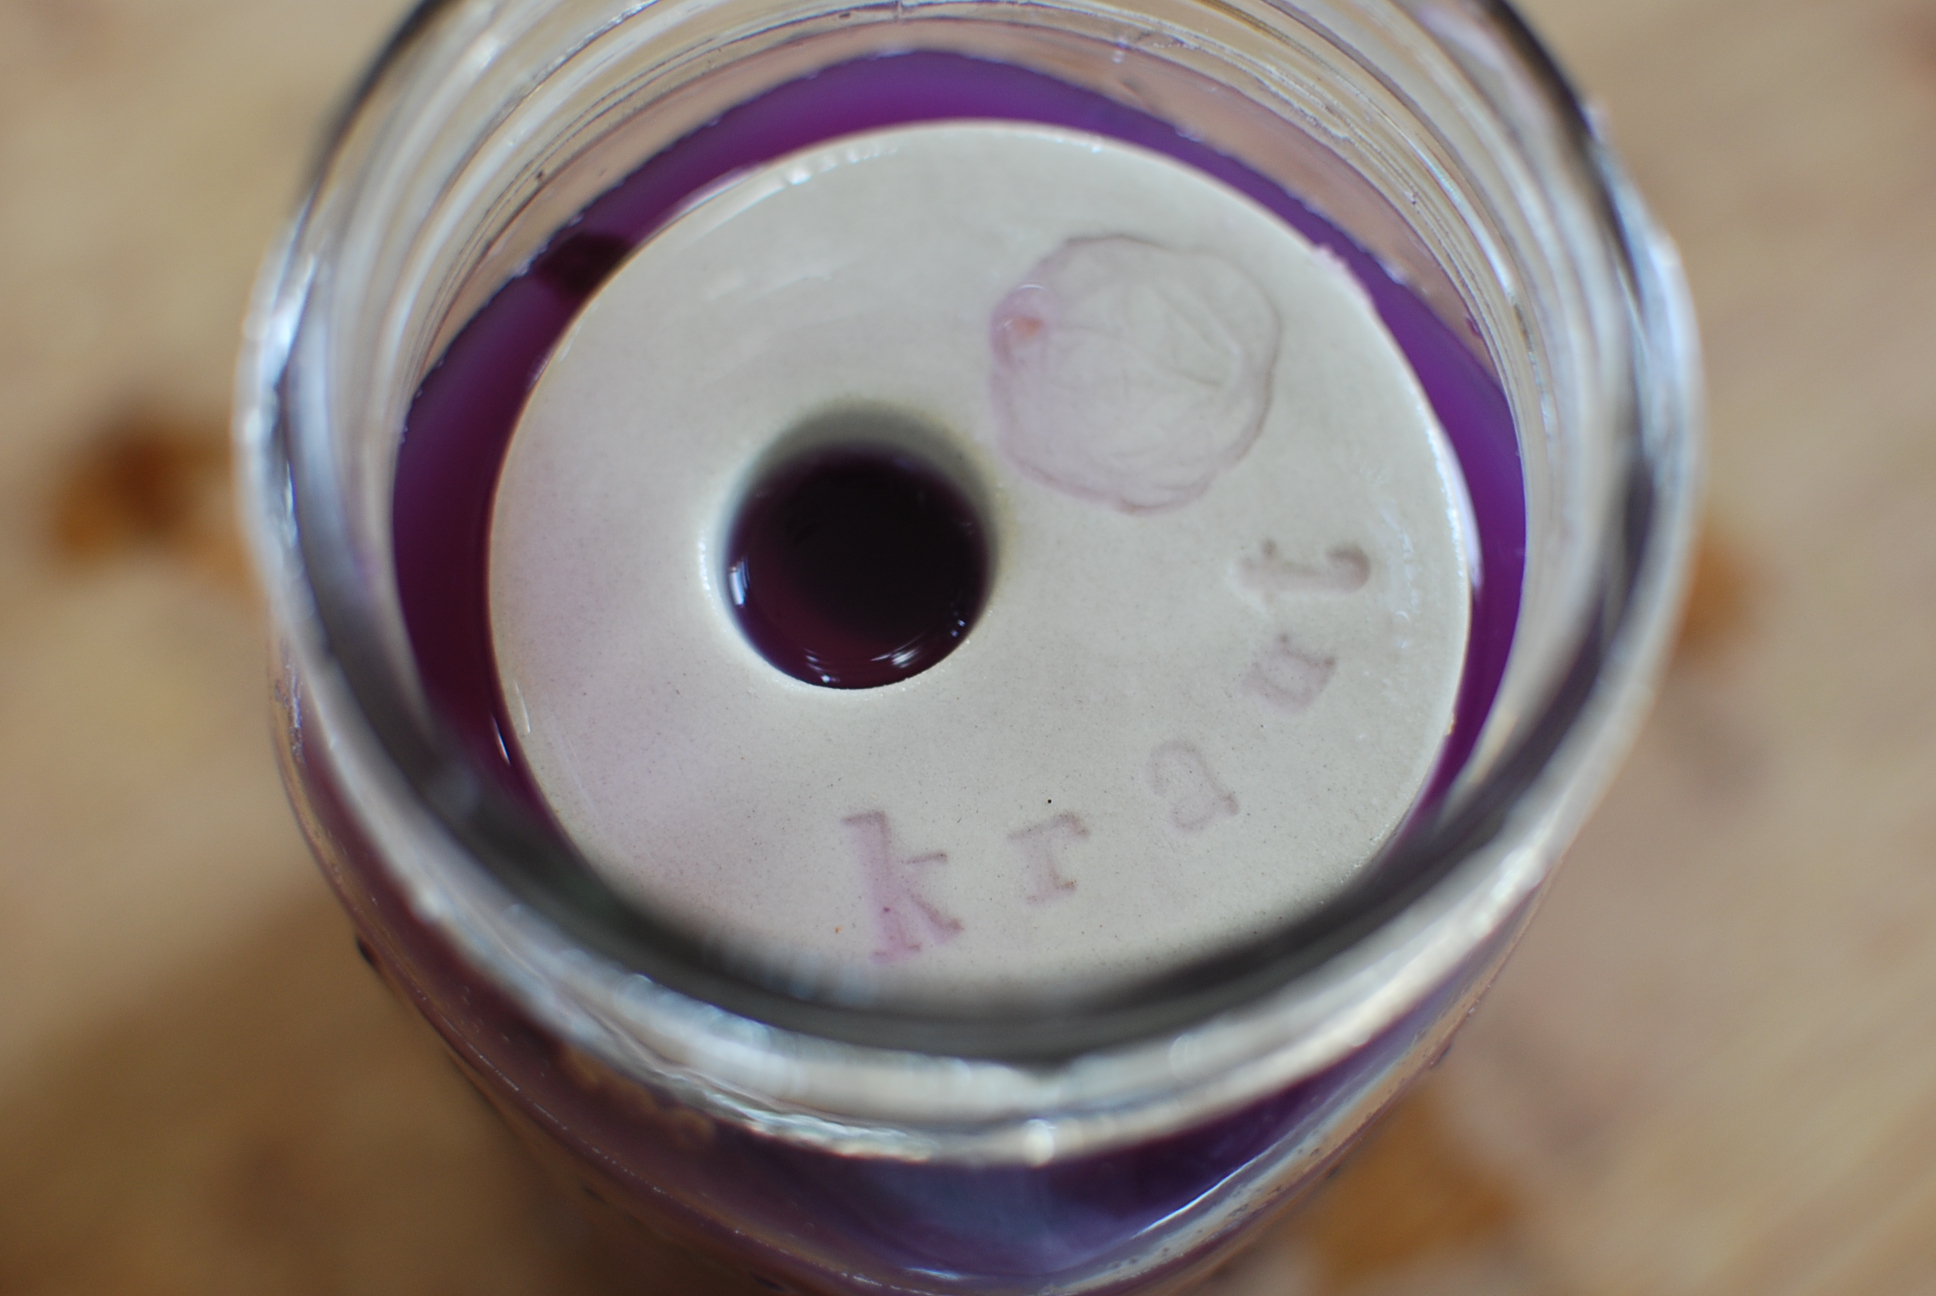
Enter the weights.
In the past, I’ve used a ramekin filled with pie weights, but now I have these adorable porcelain discs. A smaller Ball jar filled with clean stones also works. For more details, see Phickle’s guidelines.

Place the weight(s) on top of that top piece of cabbage. If the brine doesn’t rise high enough to cover everything, top it off with a bit of salted water.
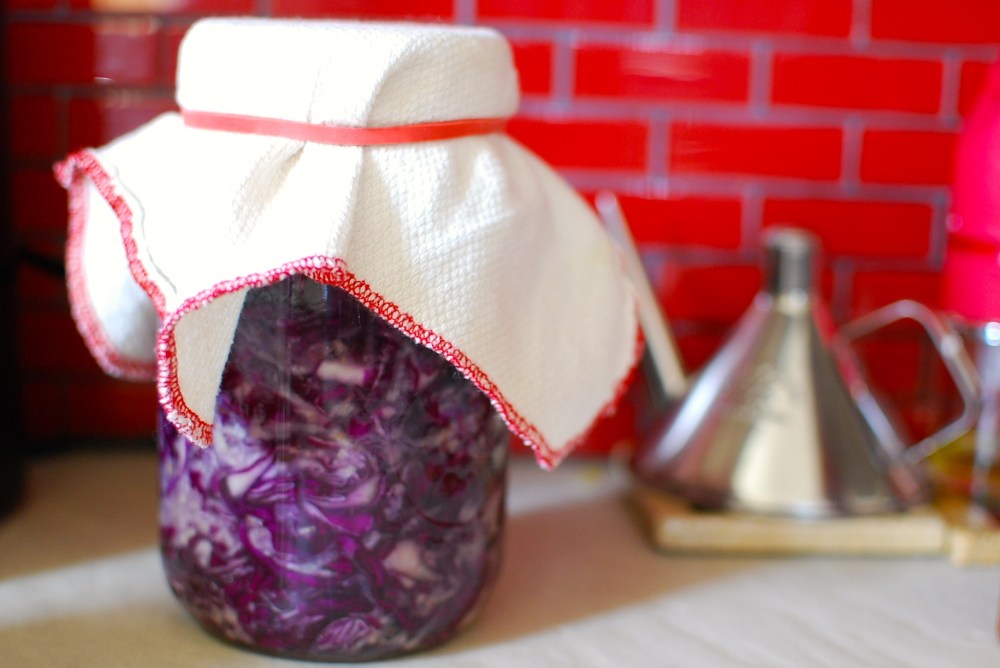
Cover the jar with a clean cloth (lets gases out, keeps bugs from getting in), and secure it with a rubber band or piece of twine.
Maybe it was the warmer temperatures. Or maybe I didn’t leave as much headspace as I should. Learn from my mistake, though. I forgot to put a drip-catcher under the jar, so I had a nice, purple ring to scrub out later.
But then, I also got this lovely Easter shroud.

