We are pie people, my family.
Notwithstanding the perennial, nephew-driven, auntie-fueled, Northwoods debate about which permutation of my mother’s cupcakes reigns supreme (yellow cake, chocolate frosting—duh), we generally opt for pie over cake.
I make a solid two-cruster (peach-blueberry is my go-to), but in my head, my finished product never can compare to my mother’s best-in-the-world pies (go ahead, ask anybody who’s had one). In high fruit season over the past few years, I find myself opting for crumbles, betties, cobblers, galettes and other twists instead, partly because I find they’re easier to scale down for one or two people, partly because they’re less of a time commitment, and partly, I’m sure, so I can avoid an internal comparison to Mom’s.
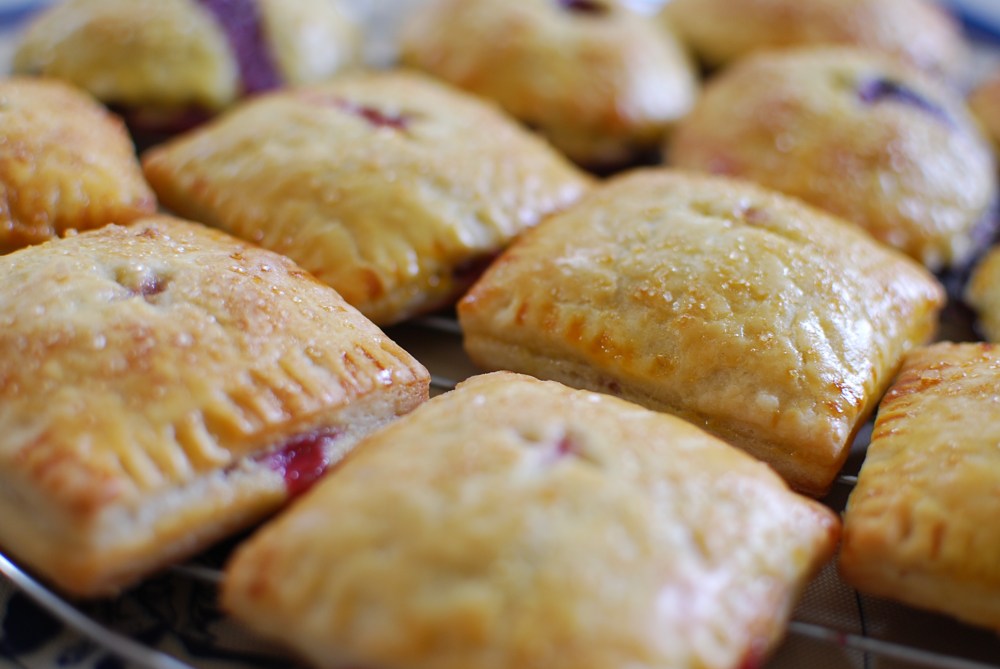
But when the new Bon Appetit and a fruit share consisting of a quart of black cherries + a pint of blueberries arrived within two days of each other—and with two picnics to attend over the holiday weekend—I figured it was time to get out the rolling pin. Hand pies! Perfectly portable.

And perfectly flexible. Any crust + any filling, in any size, really. Let the experimentation begin.
Choose your crust
My standard butter crust uses a bit of red-wine vinegar as a gluten-squelching acid, but I had some leftover buttermilk on hand, so I decided to give this one I’d seen awhile back on Joy the Baker a whirl. That turned out to be a good call. After a test batch, I noticed the buttermilk lent lent a little more elasticity to the dough than my stand-by, which is super flaky when I nail it. Because I was going to be handling it more than I would for a regular-sized pie—more rolling, cutting, re-rolling scraps—I was willing to give up delicate, mica-like layers for some more forgiving stretch.
That tester was also pinched together by hand on my counter. I pulled out the food processor for the two subsequent batches because (a) I thought it might yield an even more pliable, less friable dough, and (b) butter-slicked and flour-crusted fingers can’t work a camera or take notes very well.
Buttermilk pie dough
Makes two standard, 9-inch pie crusts (or 12-18 hand pies, depending on size).
- 2-1/2 cups unbleached, all-purpose flour
- 6 oz cold, unsalted butter (that’s 1-1/2 sticks)
- 1 tbsp granulated sugar
- 3/4 tsp salt
- 1/2 – 3/4 cup cold buttermilk
Cut the butter into small cubes and put it back into the fridge (or even the freezer) for 10-15 minutes. Measure out the buttermilk and do the same. You want these fats very cold.
By hand. If you’re doing this old-school, sift together the dry ingredients into a large, shallow bowl. Toss the butter chunks to coat well. Dump the whole shebang onto your work surface. Work the butter bits quickly into smaller pieces, either by pinching with your fingers, with a pastry cutter, or by smashing them with your rolling pin. Port it all back into the bowl, and chill it for another few minutes. Make a well in the center of the mixture, and pour in 1/2 cup of the buttermilk. Incorporate the liquid (yes, using your hands), until you get a crumbly dough to form. Add a bit more buttermilk if you find real dry pockets, but know that the whole thing will be pretty sandy. Don’t worry; it’ll come together later.
By machine. Put the flour, sugar, and salt into the bowl of a food processor. Pulse a few times (that’s the sift). Add the butter, and pulse a few more times. Get the buttermilk handy. Turn on the processor, and quickly stream the buttermilk through the feed. Don’t over-mix. You’re going for chunks, not a completely cohesive ball (as you might if you were making, say, pizza dough).
However you got there, you now have a shaggy, dusty bowl of almost-pastry. On your work surface, quickly form the dough into two equal-sized discs. Wrap them tightly in plastic wrap or waxed paper, and let them rest in the refrigerator for at least an hour. I made mine two days ahead of when I actually baked off the hand pies. I hear you can freeze them, as well, though I’ve never tried it.
Choose your filling(s)
Just about any fruit filling will do here. Bear in mind, though, that these are hand pies – no plates, no forks – so you want fillings that have some jell. Unless, of course, you’re going for that whole juices-running-down-the-chin-onto-your-seersucker-jumper thing. In addition to the cherries and blues in my CSA share, I’d just harvested my own rhubarb. It’s a first-year plant, and the stalks were quite thin, so there wasn’t really enough to do anything meaningful with them on their own, but there were plenty to marry with the cherries.
Cherry-rhubarb pie filling
- 8 oz sweet cherries, washed, pitted
- 6 oz rhubarb, cut into small pieces
- 1/4 cup granulated sugar
If the cherries are big (these were) roughly chop them. In a standard pie, with more room, I’d probably leave them whole, but the smaller-format hand pies just can’t accommodate that much height.
Toss the fruit and sugar together in a large, wide skillet. Cook over medium heat for 15-20 minutes, until it’s as thick as you want it (I stopped well short of jam stage, but when I chilled it, it was relatively solid). Let it cool, and then refrigerate it until you’re ready to assemble. Again, I made the filling a couple days ahead. And I used the leftovers stirred into yogurt for breakfast later that week.
Blueberry pie filling
Super easy. I didn’t even bother to cook the berries first. They just kind of melt on their own in the oven. I like the warm tones that raw, Demerara sugar adds, but you can use regular white sugar (or even light brown) if you’d rather.
- 2 cups blueberries, picked over, washed and drained
- 1/4 cup Demerara sugar
- juice and zest from half a lemon
- pinch of salt
Toss all the ingredients together in a bowl. That’s it.
Sweet mascarpone filling
With about half of my pies, I added a layer of sweet cheese. I liked the all-fruit versions just as much, but it’s another option for you. I used a half-tub of Vermont Creamery‘s version, which is fairly sweet on its own, so I used less added sugar than I might if I used another brand—or used regular cream cheese.
- 4 oz mascarpone, at room temperature
- 1/4 cup granulated sugar
- 1 egg yolk
- juice and zest from half a lemon
Mix all ingredients together in a small bowl with a fork or a whisk. As with the cooked fillings, it’ll make assembly easier (less messy) if you chill this for a bit to re-thicken it.
Putting it all together
Preheat your oven to 400°.
Line several baking sheets with parchment paper or a silicone sheet.
Get three small bowls ready: one with an egg wash (a lightly beaten egg plus a splash of milk or cream or water), one with a small amount of plain water, and one with some Demerara sugar for dusting the tops of the pies before you bake them.
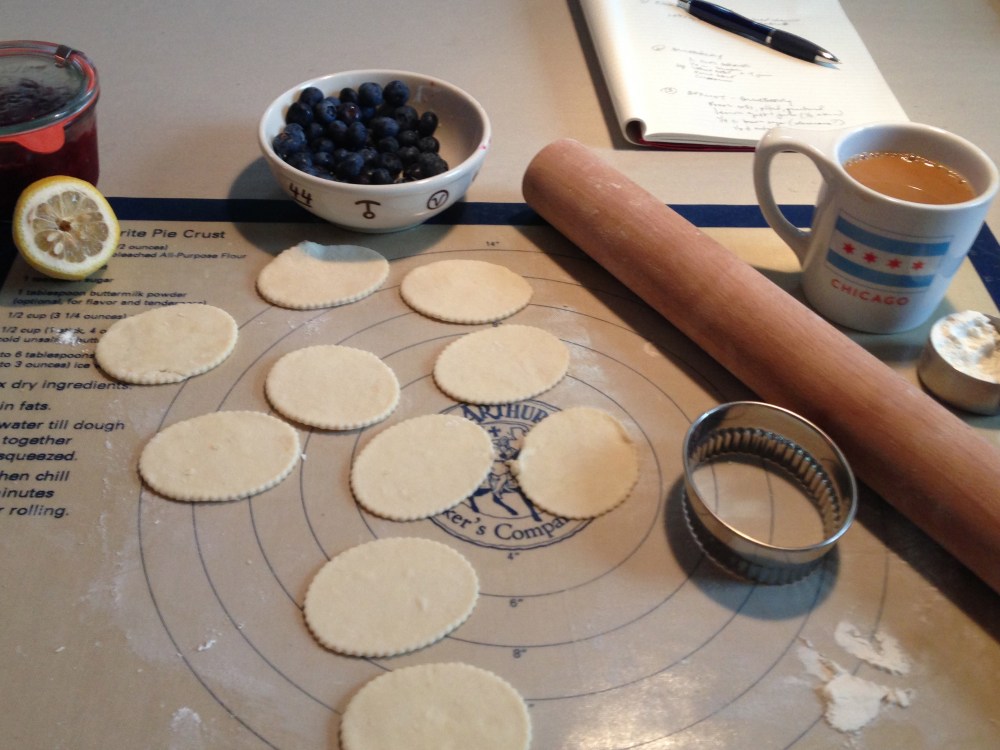
Decide on your pie size and shape. You could roll out the dough and cut the sheet into sixths for larger pies, or use various cookie/biscuit cutters for smaller, more uniform shapes. I went that route, using four different, roughly 4-inch cutters (fluted round, plain round, square, fluted oval) so that each “flavor” had its own shape.
Work in small batches, say, with only a half-disc of the dough at once, so that the rest stays cold until you get to it. On a floured work surface, roll out the dough to the thickness you want. I went pretty thin, because the pies were fairly small. I didn’t measure (sorry), but it was probably close to 1/8th of an inch. This takes awhile, so be sure to rotate the dough and reflour your surface as necessary so your pieces don’t end up stuck to your work surface. Cut the dough into an even number of pieces. Pull out the scraps and refrigerate them for another round of rolling later on.
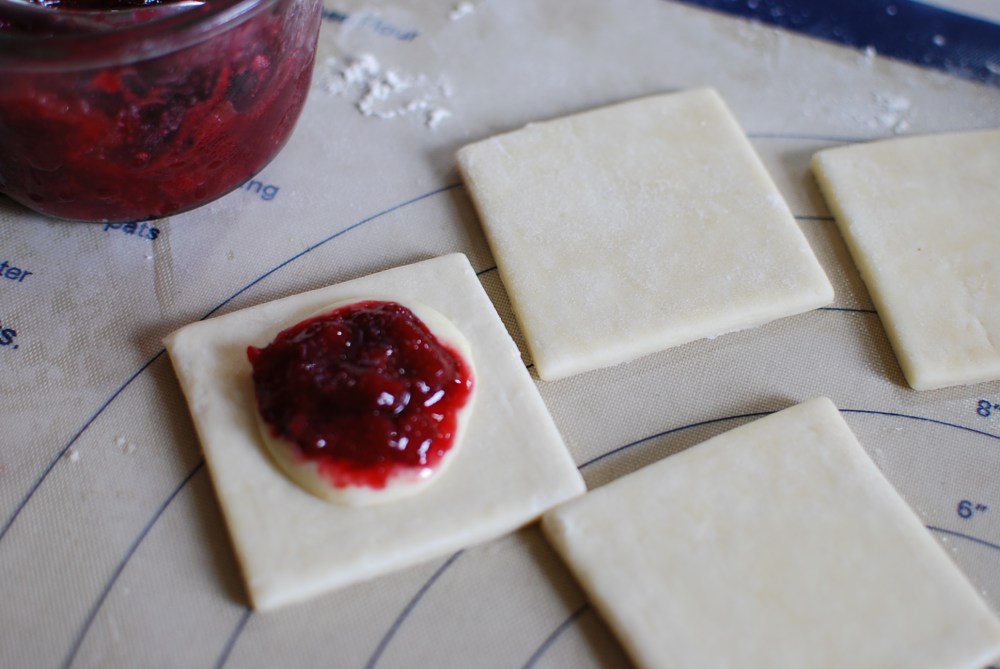
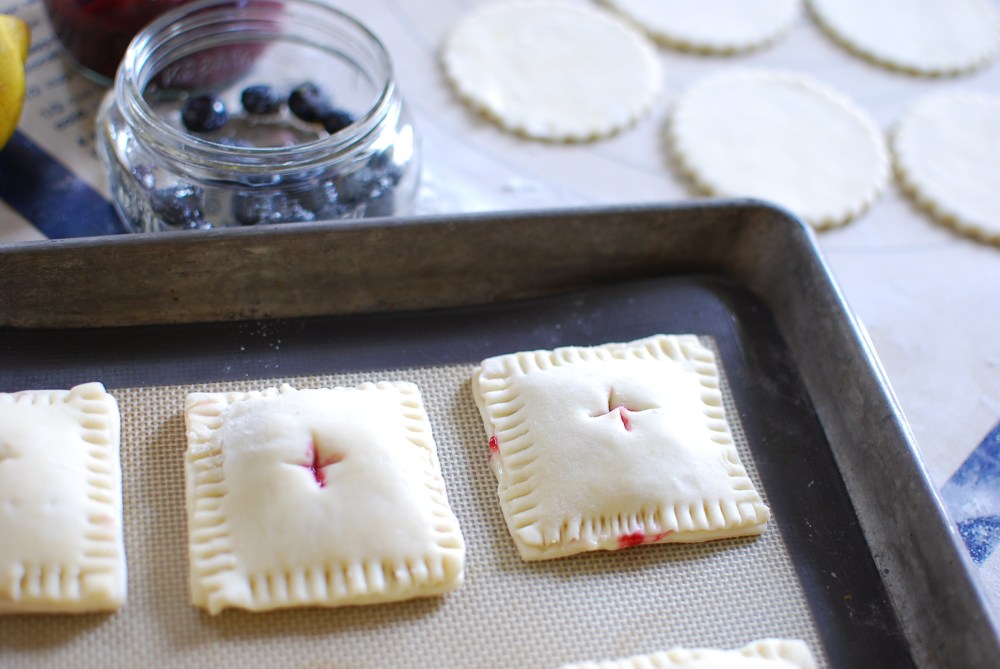
Dollop a spoonful of the sweet cheese, if you’re using it, and a spoonful of fruit in the center of half the cut-out pieces. With the fresh blueberries, I used 6-8 sugar-crusted berries per pie. Whatever the filling, resist the urge to go right to the edge, since you’ll need room to seal the tops and bottoms together.
Dip your finger in the water and run it alongside the edges of both pieces of a mini pie. Put the top onto the bottom (wet-edged sides together), and press with your fingers or a fork to get a good seal all around. I found it easier—and the halves kept their shape better—if I used a spatula to lift the pieces off my work surface.
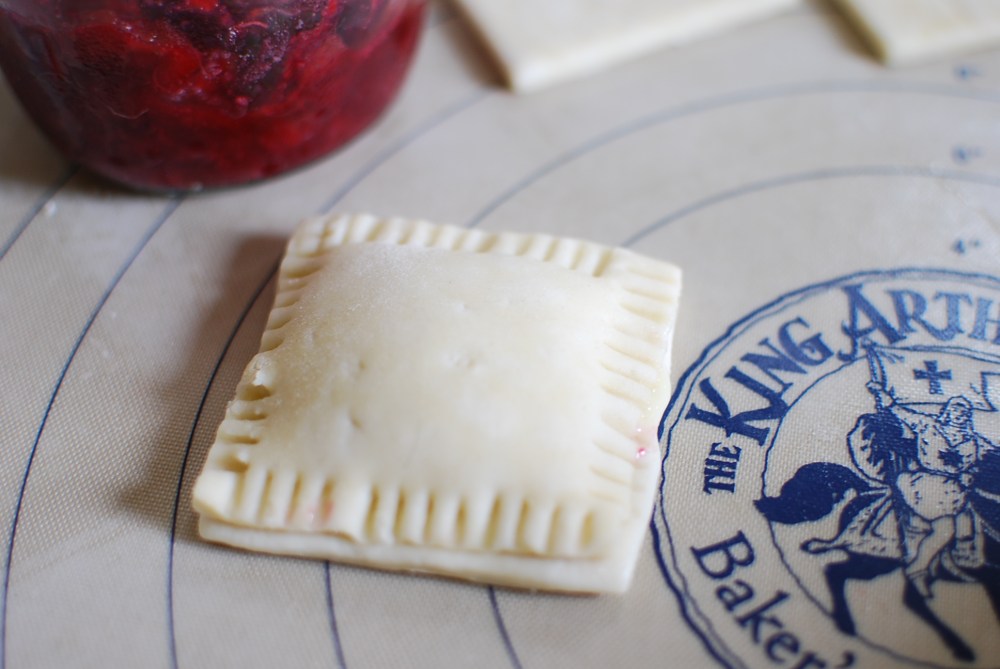
Use a sharp knife to poke or cut steam vents into each little pie. If you just have one shape but have multiple fillings, you could use different knife markings to distinguish them, too.
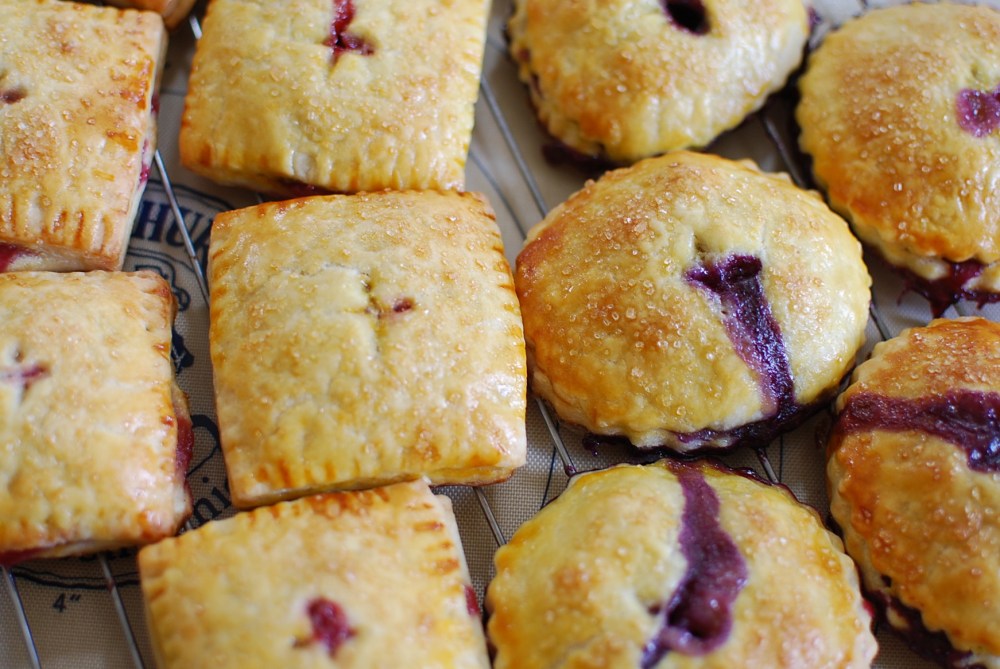
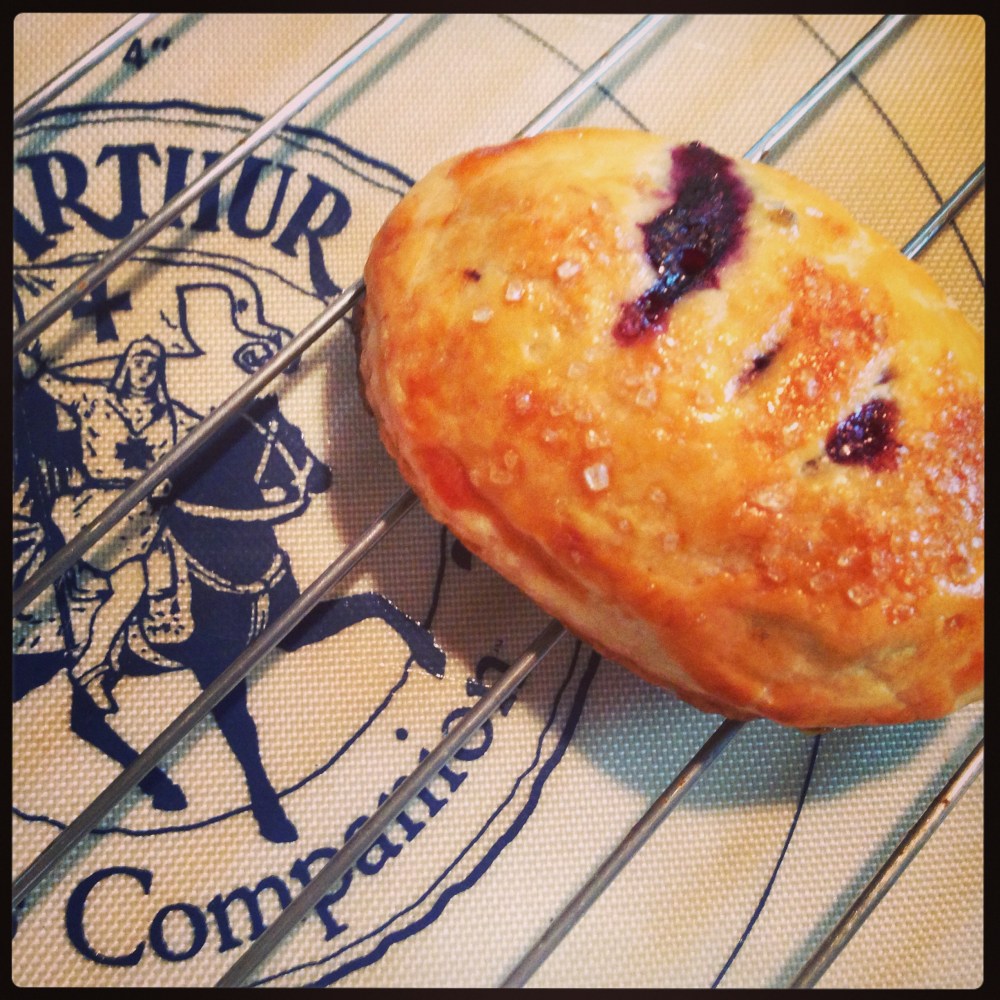
Brush each pie with the egg wash, and sprinkle with the raw sugar.
Bake for 15-20 minutes until golden brown and crisp. Check frequently as you get close to the end, since different sizes will cook at different rates.
Remove to a rack to cool. You can store them, covered, for 3-4 days. I kept the ones with cheese in the fridge, but that’s probably not even necessary.
Easy as pie, right? A piece of cake. A can of corn. Well, you get the idea.

One Comment Add yours