Bubble, bubble, a little toil, not much trouble.
In mid-September, I chunked up a whole mess of hot, super-hot, and mild peppers, stuffed them into a couple jars, added salt water, and let them burble away on my kitchen counter.
Fermentation, kickstarted by the the ambient yeasts and mild fall temps in my kitchen, worked its black magic (okay, it’s SCIENCE), and—bingo!—six weeks later I’d passively made myself two jars of very lively pickles. From there, killer, interesting, layered, complex, and delicious hot sauce was just a purée-strain two-step away.
Don’t be scared. It’s simple. Really. A super-basic, counter-culture ferment.
Catch the story in pictures. Detailed instructions follow below.
Scary-Good Fermented Hot Sauce
Just a friendly, fiery, counter-top ferment. Two pounds total of mixed peppers eventually yielded just about two-and-a-half cups of finished sauce, which, bottled and kept in the fridge, will keep indefinitely—well, at least a year. As usual with my ferments, I merged techniques from Amanda Feifer over at Phickle and from Sandor Ellix Katz’s The Art of Fermentation.
- 2 pounds mixed peppers, a balance of hot and mild, plus a few scorchers, if you dare
- 2 medium carrots, scrubbed, roughly chopped
- 8 medium cloves garlic, peeled, lightly smashed
- 6 cups filtered water
- 3 tbsp Kosher salt
- 2-3 tbsp apple cider vinegar, to taste
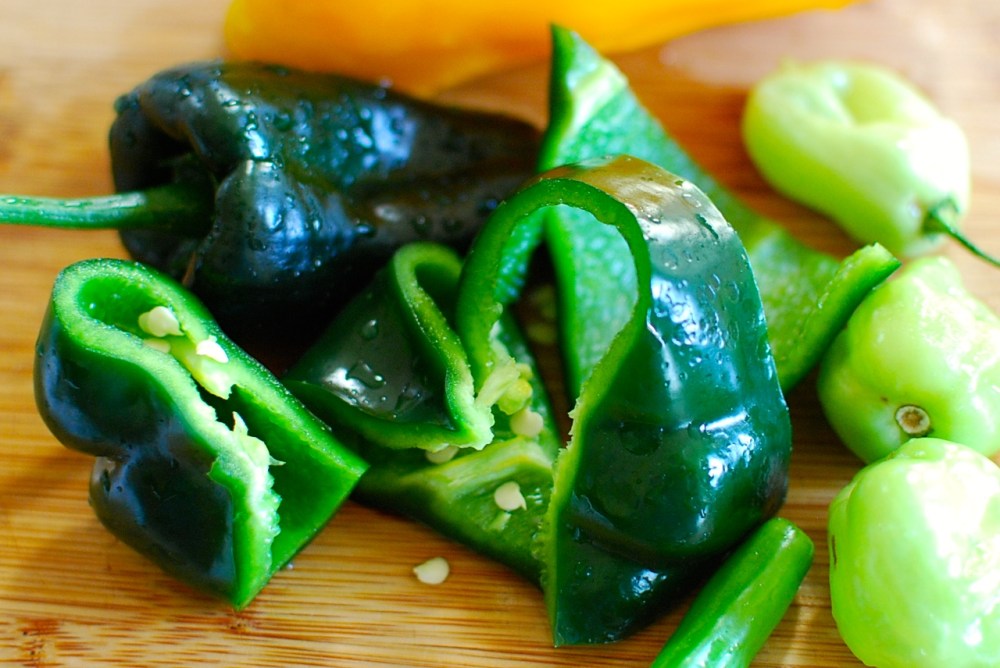
My peppers came from various sources—my own home garden, the CSA, and a huge bag from one of my favorite customers, a gent who happens to share my passion for strange produce, Südtirol whites, Hot Doug’s (RIP), and the Chicago Cubs. Yeah, in Philly. Go figure. Anyhow, thanks, Lee.
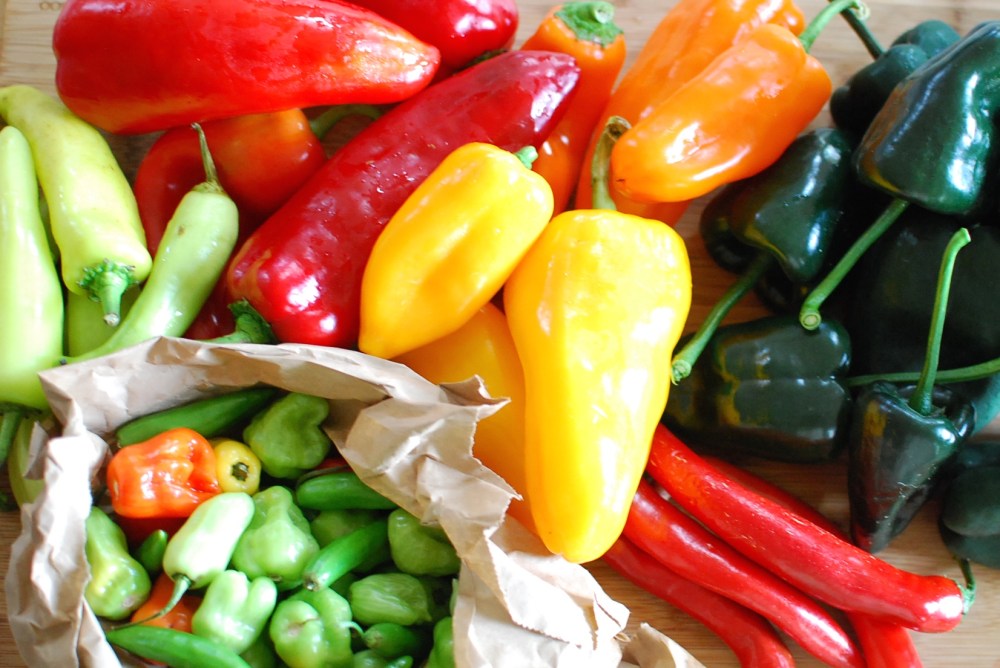
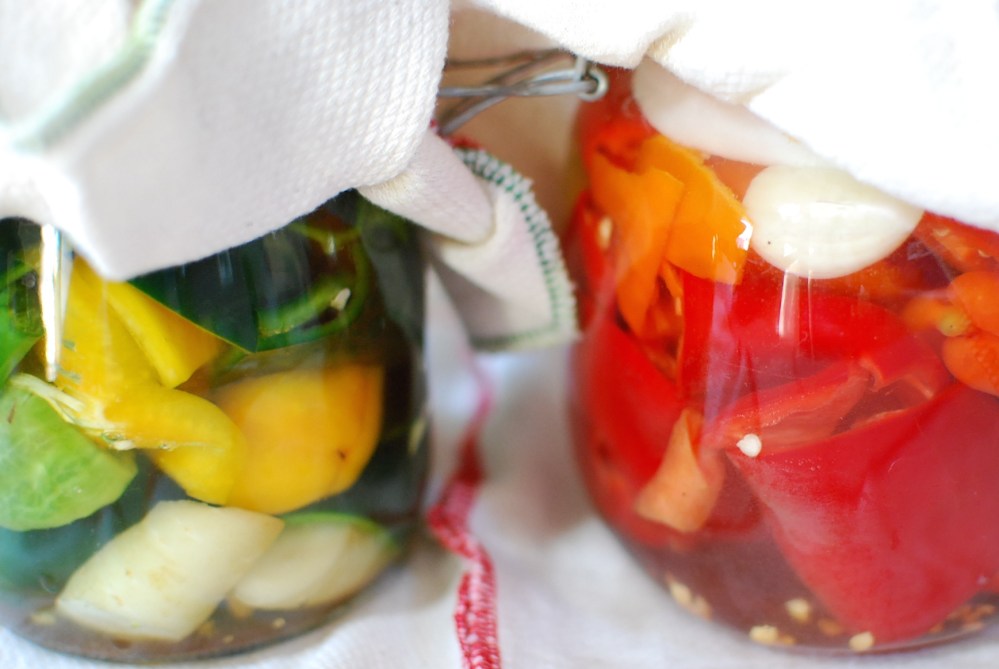
Because I was unsure how hot each type was—and because I was too chicken to taste them all raw—I decided to divide and conquer, making two batches that I would later sample and then blend to taste (bonus wine word: assemblage!). I arbitrarily sorted by color (red to orange in one pile, yellow to green in another), but you could go by variety or any other variable, for that matter. Or just throw them all in together and co-ferment (another bonus wine word). Totally up to you.
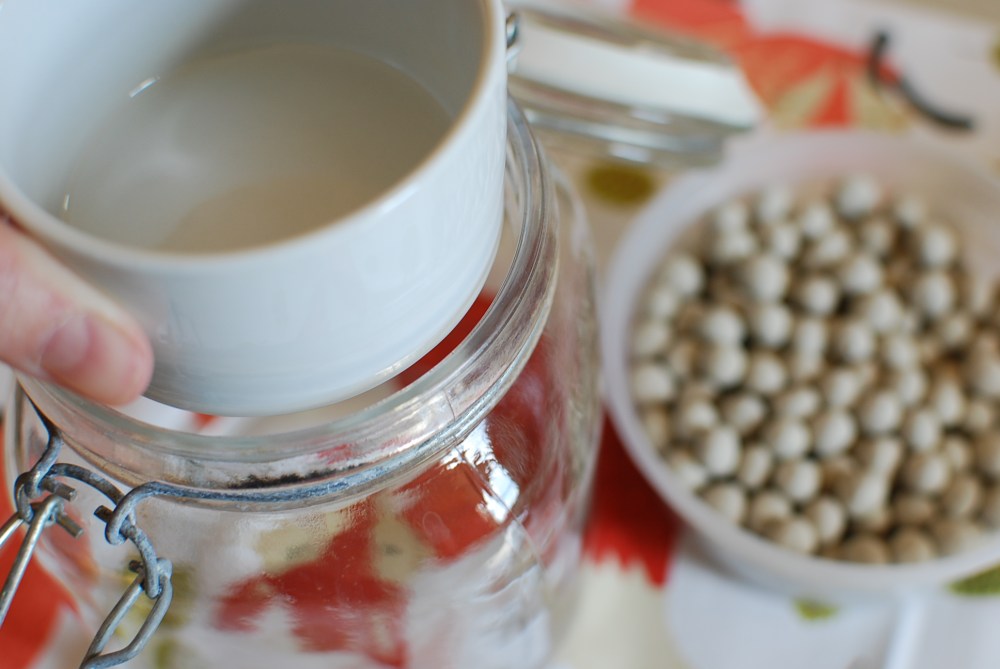
Pick your Jars
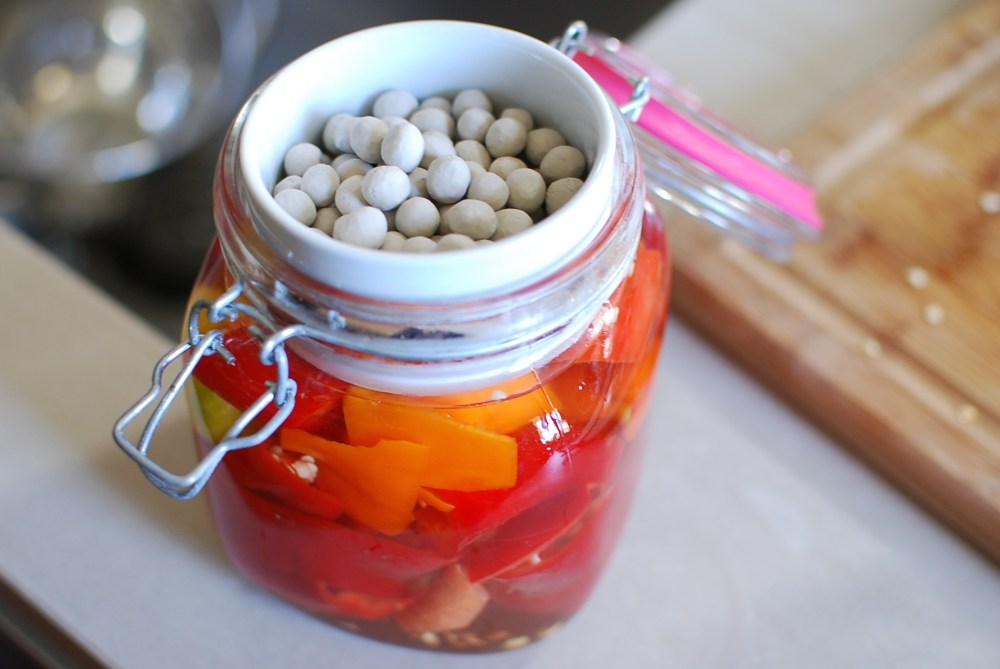
Unless you have a set of fancy pickle weights (these may be going on my Santa list), you’ll have to find a combo of outer jar and inner jar that works for you. I’ve got a couple Kilner clip-tops that marry beautifully with some 3-inch custard cups I bought a few years ago. Experiment, and use what you’ve got.
Prep the Peppers
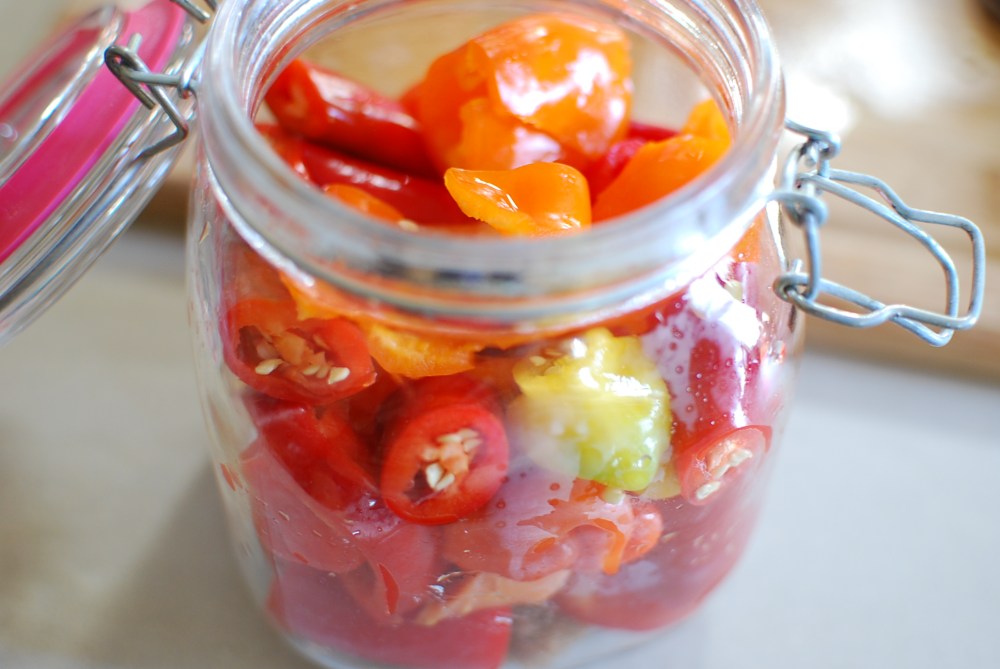
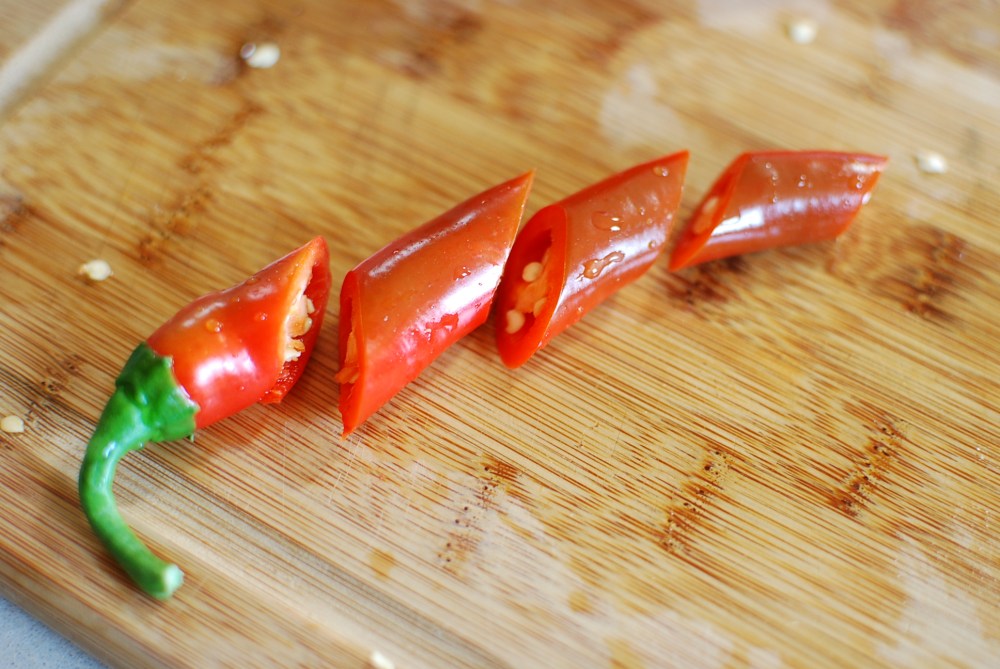
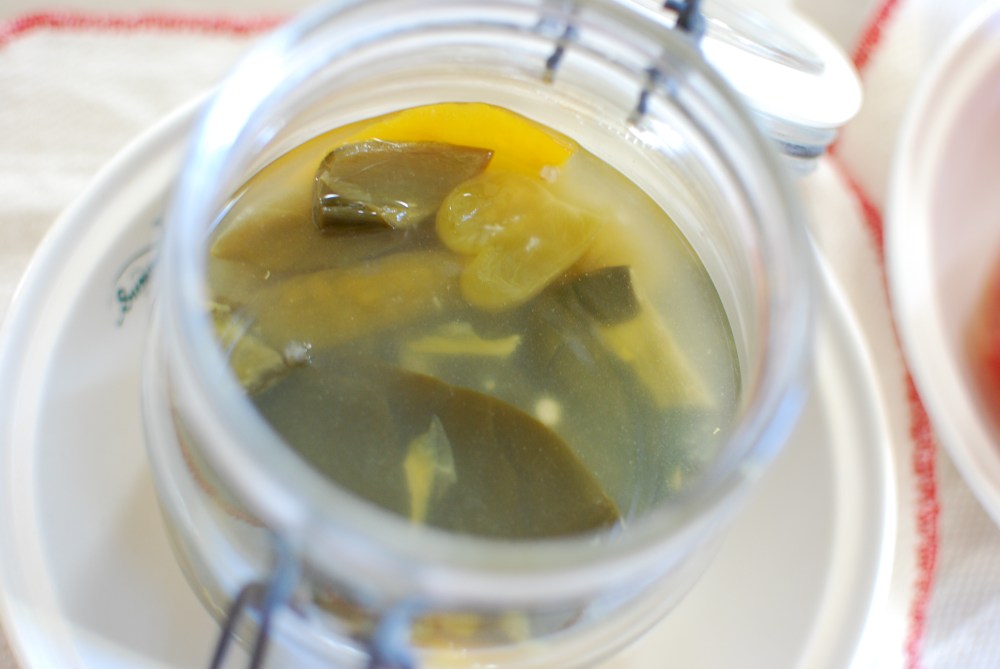
Give them all a rinse to remove any leaves, dirt, or spider webs (yes, it happens, especially right near the stem). Carefully trim and discard the stems from the peppers, then give everything a very rough chop. Leave the seeds and ribs, but cut away any dark or rotten spots you see.
Pack the Jars
Distribute the garlic cloves and chunked carrots evenly among your jars. Layer the peppers in, using a muddler or wooden spoon to press as many in as possible. It’s okay if they crack and/or break up a bit. Stop when the jars are about 80% full, so that you have enough room for the weights. Tip: Don’t stop too soon, though. I once had a ferment in which the veggies broke down so much that the inner jar sunk below the lip of the outer, and I had a helluva time getting it back out.
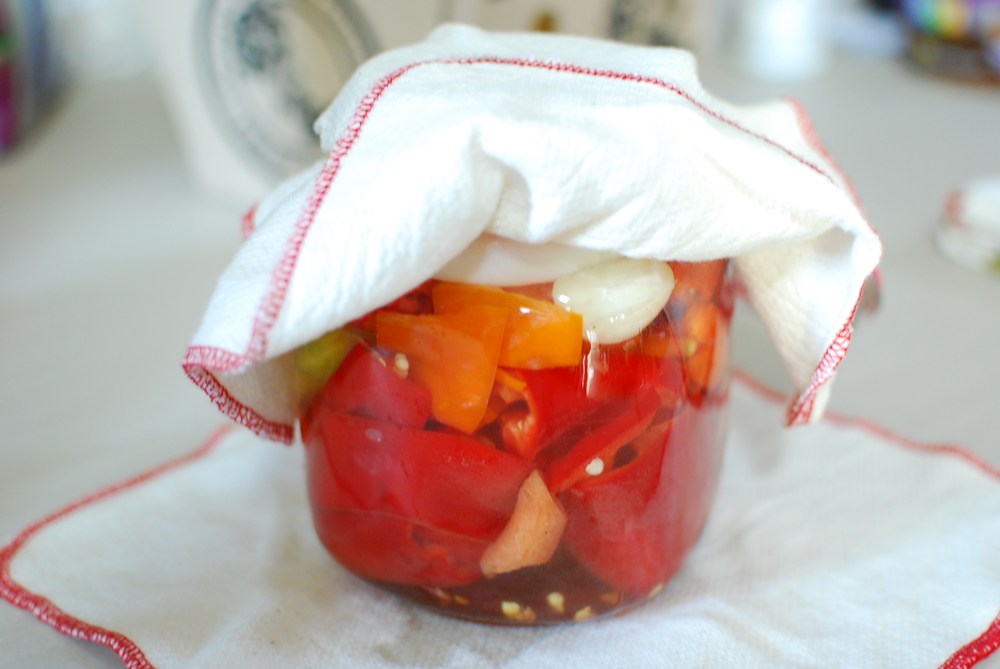
Add enough brine to cover the vegetables. Cap it off with the weight. Use twine or a rubberband to secure a clean towel or piece of cheesecloth over the top. Air flowing in and out is good; pests would be bad.
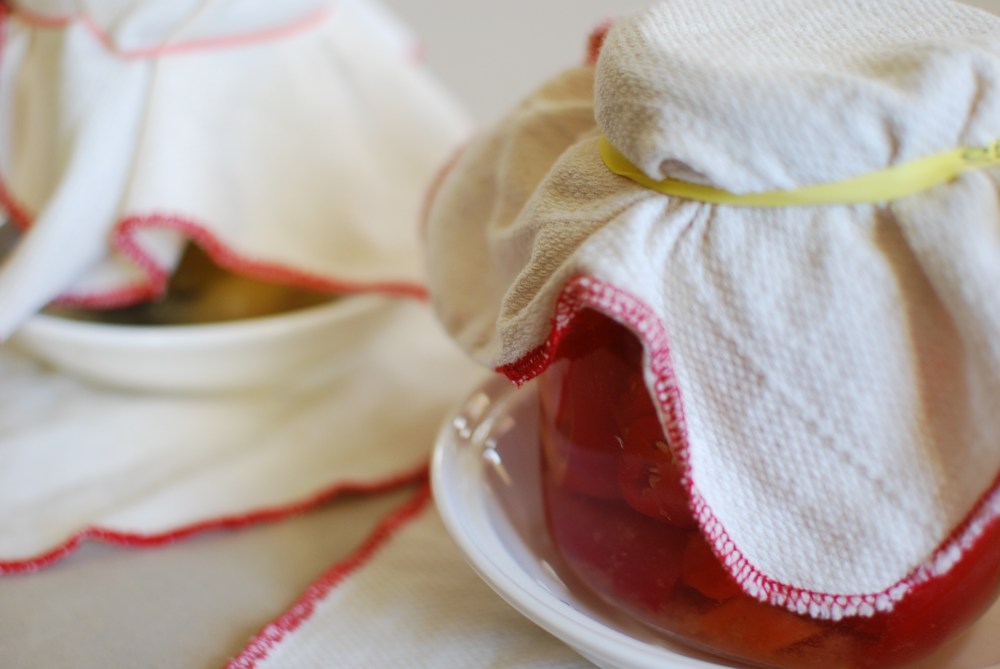
stinky, change it out once a week or so.
Be Patient
Let the jars sit, undisturbed, at room temperature, for several weeks up to several months. I nibbled after 14 days and decided it still tasted pretty raw, so I let ol’ lactobacillus ramble on. I pulled the plug at 40 days, mainly because I needed to reclaim some counter space. The end product was fantastic, but next time I’d like to set a smaller jar aside and really let it go—maybe three or four months.
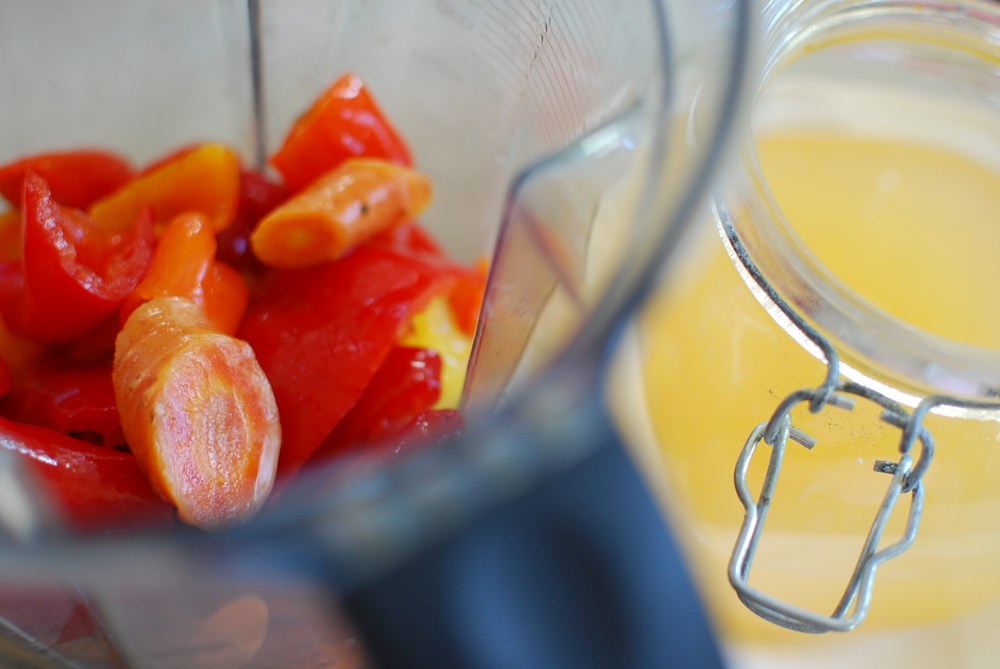
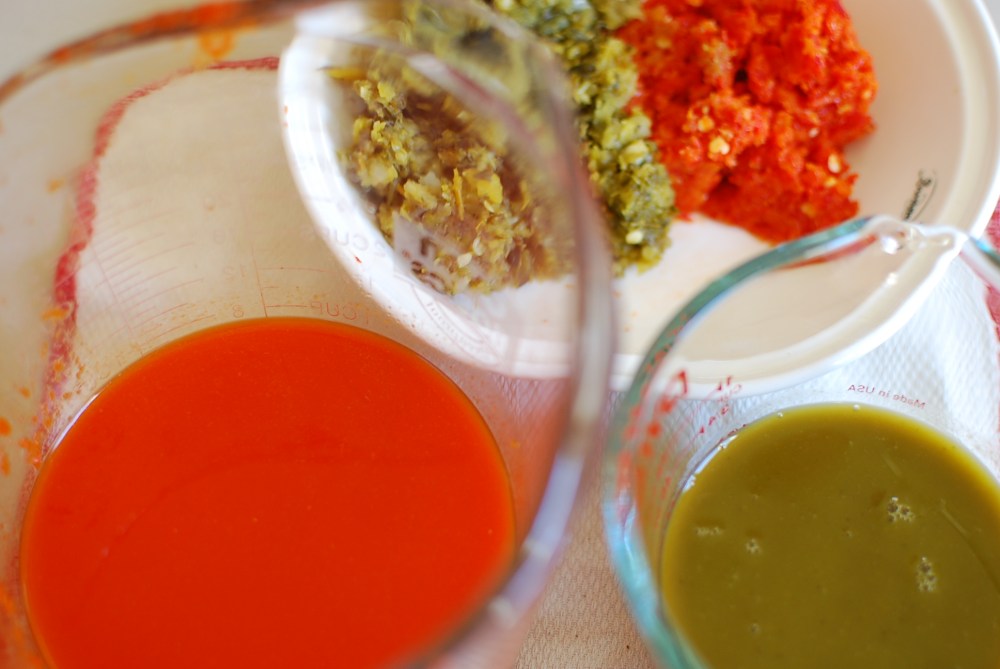
Drain, Purée, and Strain
Whenever you’re ready to proceed, use a slotted spoon or pair of tongs to remove the veggies to the bowl of a food processor or heavy-duty blender. Purée for one or two minutes, until you have a pretty uniform pulp. If it looks dry to you (like you might have a hard time extracting much liquid), add back some of the brine until you get a consistency you think you can work with.
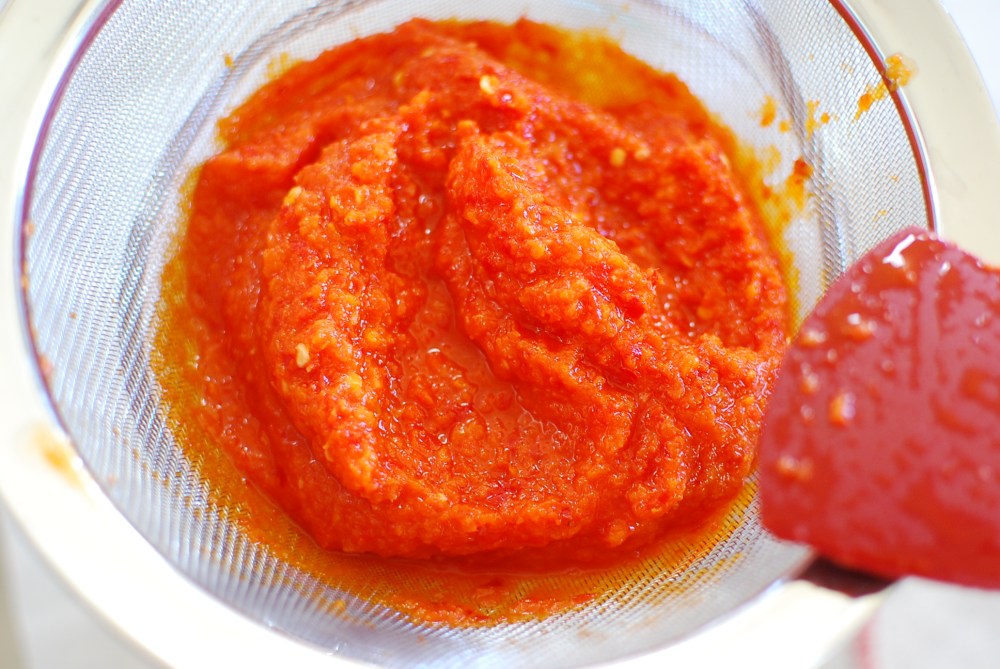
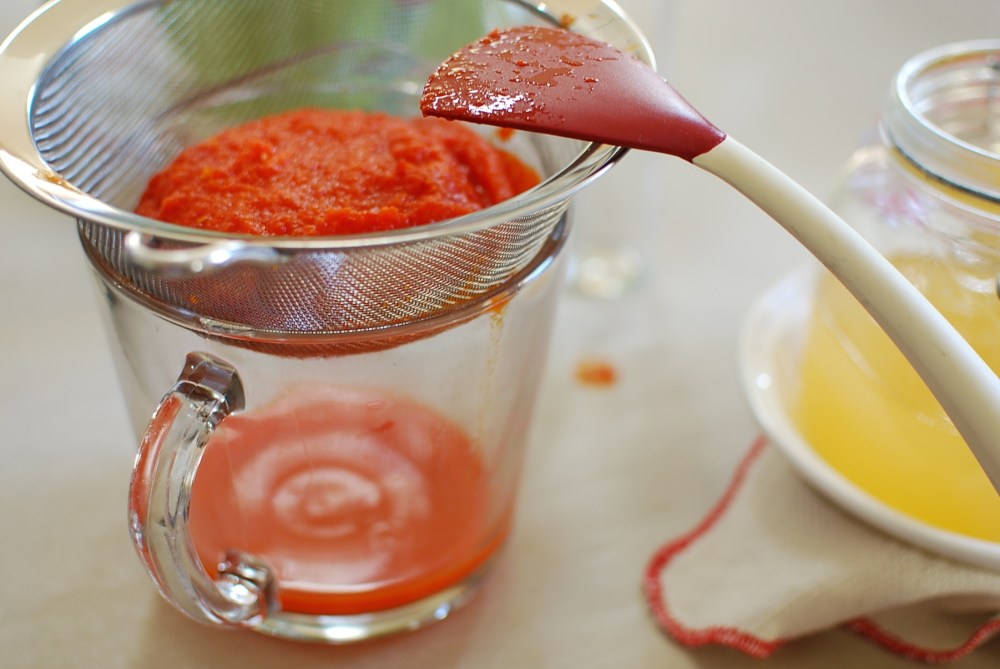
Set a chinois or a fine mesh strainer over a bowl or measuring cup, and press and stir and coax as much liquid as you can out of the mash. I suppose something cool could be made with the dregs, but I just tossed them.
Taste and Bottle
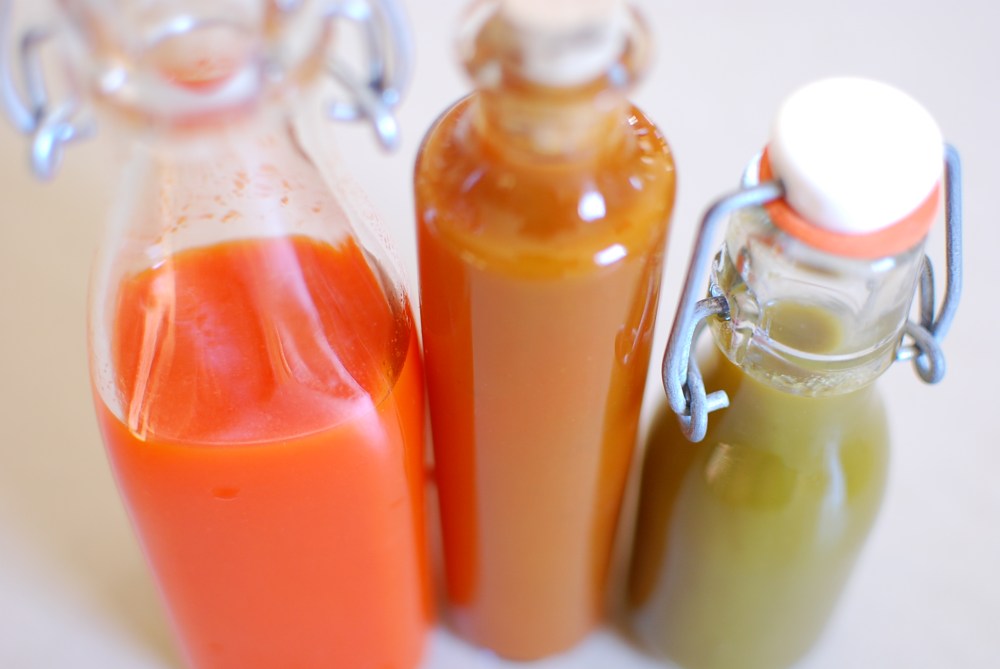
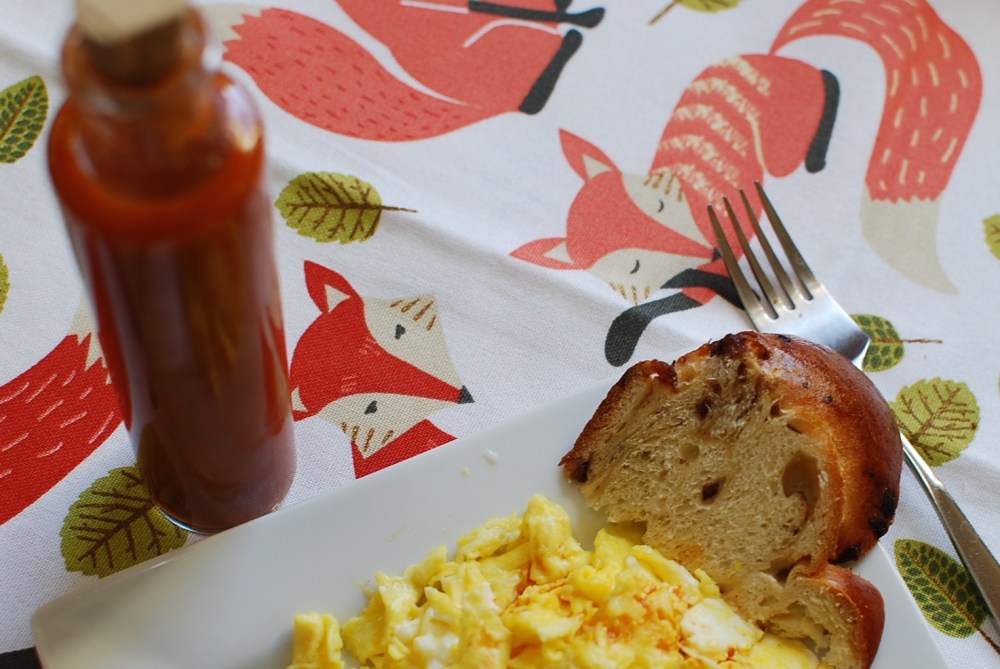
Taste your batch(es) and decide whether you want to co-mingle or keep them discrete. I set aside a small bottle each of straight red and straight green, but made a bigger bottle of 50-50 blend (final winey bonus: Cuvée!) . For all, though, just before bottling, I added just a splash of apple cider vinegar.
Like wine (and most any ferment), hot sauce will soften and mellow a little over time; sweetly acidic cider vinegar speeds up that evolution. Adding vinegar also stabilizes the ferment, supposedly allowing it to be shelf-safe. Maybe. But I keep mine in the fridge anyhow.
The fox says, “Mm-mm-mm-mm-mm-mm-mm-mm-mm.”
I kept this one super simple, adding only garlic and a carrot for a bit of sweetness. I know other folks load theirs up with fruits (apple, peach, mango), or even add brown sugar. Maybe next time I’ll try some of that. Each batch’ll be a little different, anyway, depending on your pepper mix, the temperature in your home, and how long you let it all percolate.
